Bài giảng Lập trình mạng - Chương 2: Lập trình mạng trong windows
1. Giới thiệu thư viện winsock
- Giao tiếp lập trình mạng cho phép phát triển ứng dụng giao tiếp trên cùng
một máy hoặc nhiều máy khác nhau thông qua môi trường mạng
- Winsock được hỗ trợ sẵn trong windows cho phép lập trình mạng với giao
thức TCP/IP hoặc IPX
- Lập trình Winsock trong windows ta sử dụng thư viện WINSOCK2.H,
WS2_32.LIB
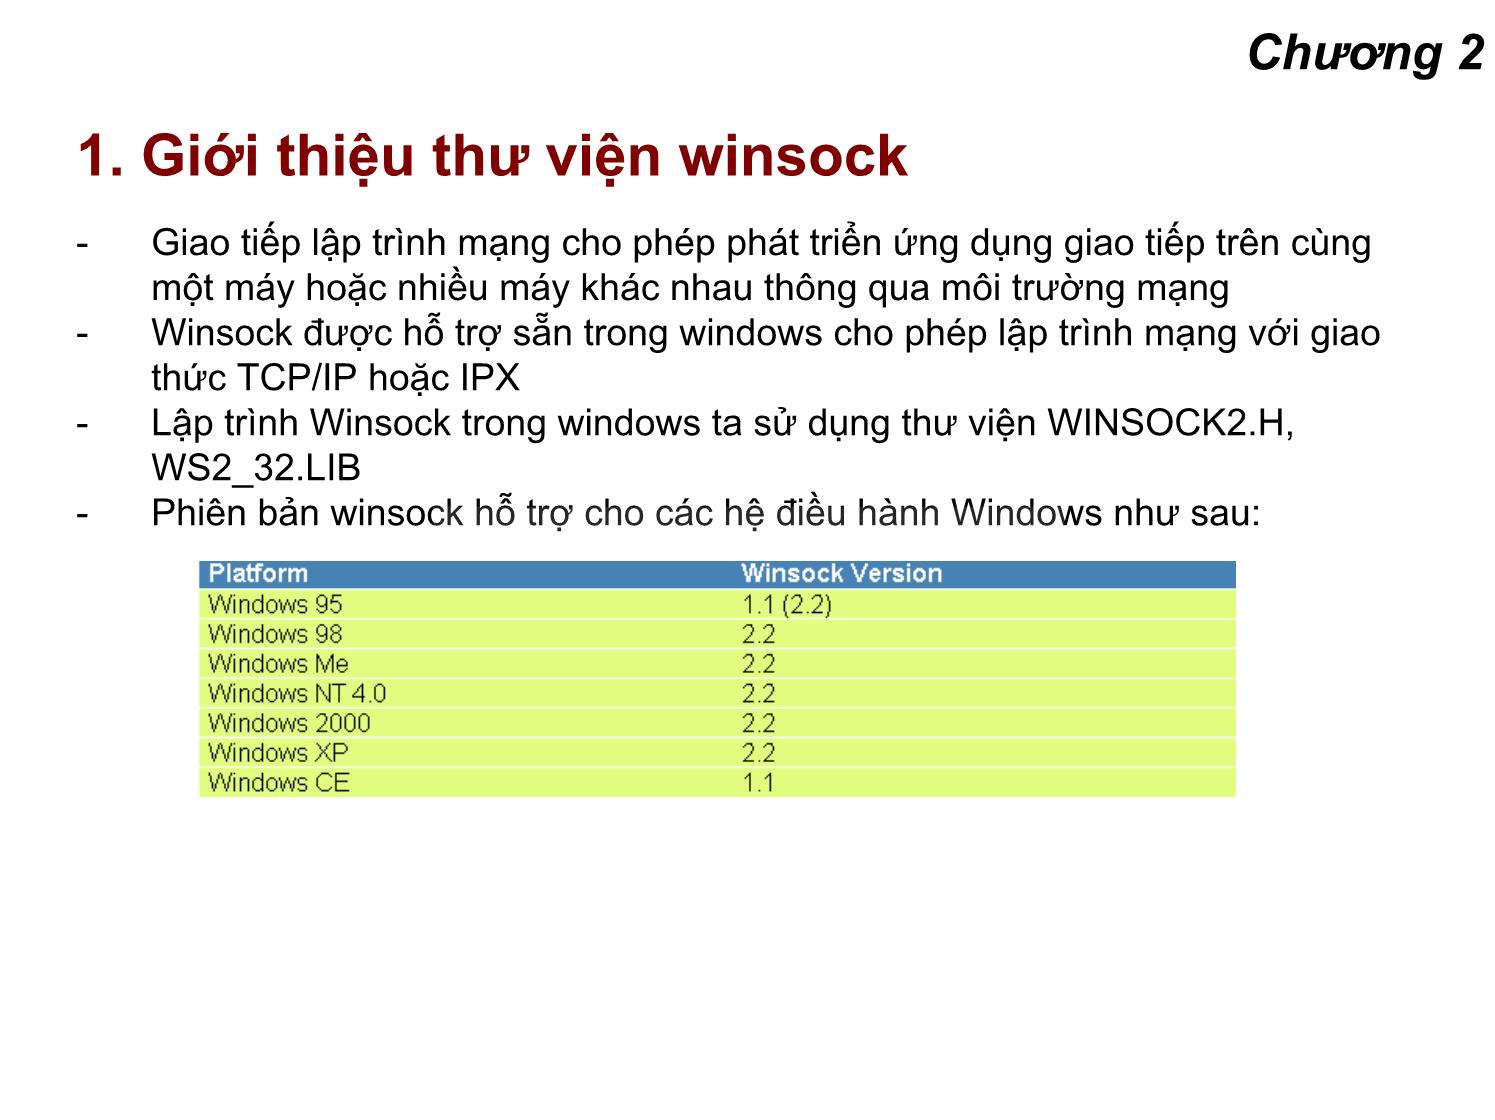
- Phiên bản winsock hỗ trợ cho các hệ điều hành Windows như sau:
1. Giới thiệu thư viện winsock
Khởi động Winsock
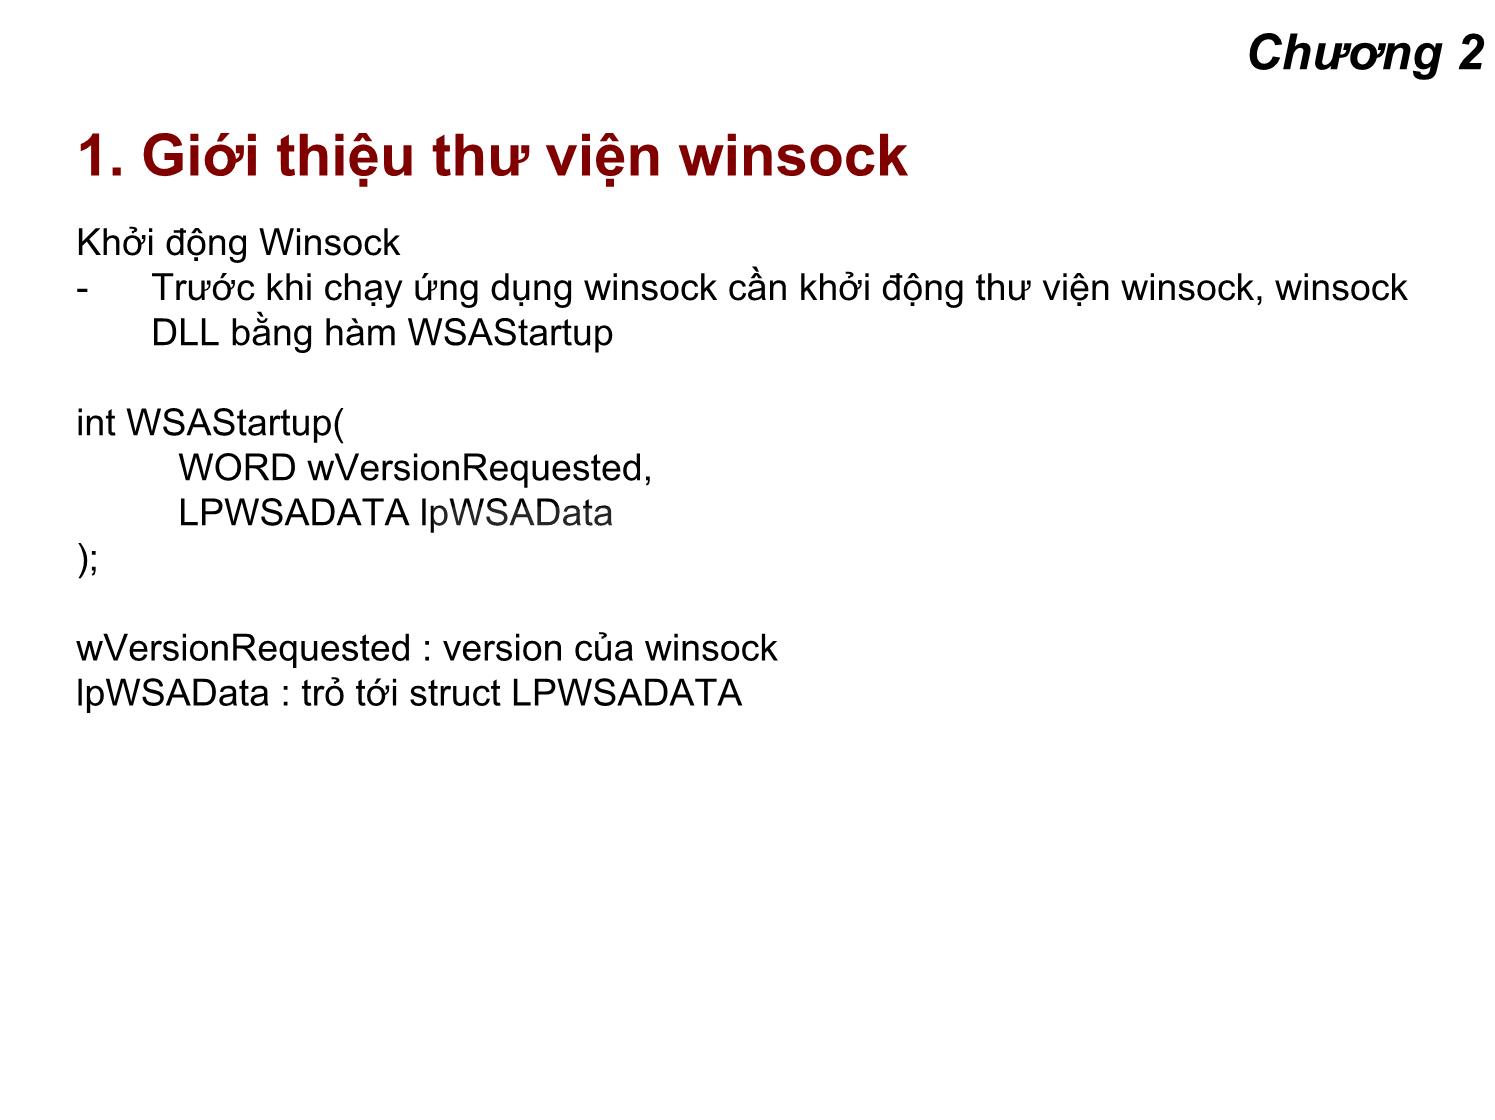
- Trước khi chạy ứng dụng winsock cần khởi động thư viện winsock, winsock
DLL bằng hàm WSAStartup
int WSAStartup(
WORD wVersionRequested,
LPWSADATA lpWSAData
);
wVersionRequested : version của winsock
lpWSAData : trỏ tới struct LPWSADATA

Trang 1
Trang 2
Trang 3
Trang 4
Trang 5
Trang 6
Trang 7
Trang 8
Trang 9
Trang 10
Tải về để xem bản đầy đủ
Tóm tắt nội dung tài liệu: Bài giảng Lập trình mạng - Chương 2: Lập trình mạng trong windows

Chương 2: Lậptrìnhmạng trong windows
Chương 2
1. Giớithiệuthư viện winsock
-Giaotiếplậptrìnhmạng cho phép phát triển ứng dụng giao tiếp trên cùng
một máy hoặc nhiều máy khác nhau thông qua môi trường mạng
- Winsock đượchỗ trợ sẵn trong windows cho phép lậptrìnhmạng vớigiao
thức TCP/IP hoặcIPX
-Lập trình Winsock trong windows ta sử dụng thư viện WINSOCK2.H,
WS2_32.LIB
- Phiên bản winsock hỗ trợ cho các hệ điều hành Windows như sau:
Chương 2
1. Giớithiệuthư viện winsock
Khởi động Winsock
-Trước khi chạy ứng dụng winsock cần khởi động thư viện winsock, winsock
DLL bằng hàm WSAStartup
int WSAStartup(
WORD wVersionRequested,
LPWSADATA lpWSAData
);
wVersionRequested : version của winsock
lpWSAData : trỏ tới struct LPWSADATA
Chương 2
1. Giớithiệuthư viện winsock
Khởi động Winsock
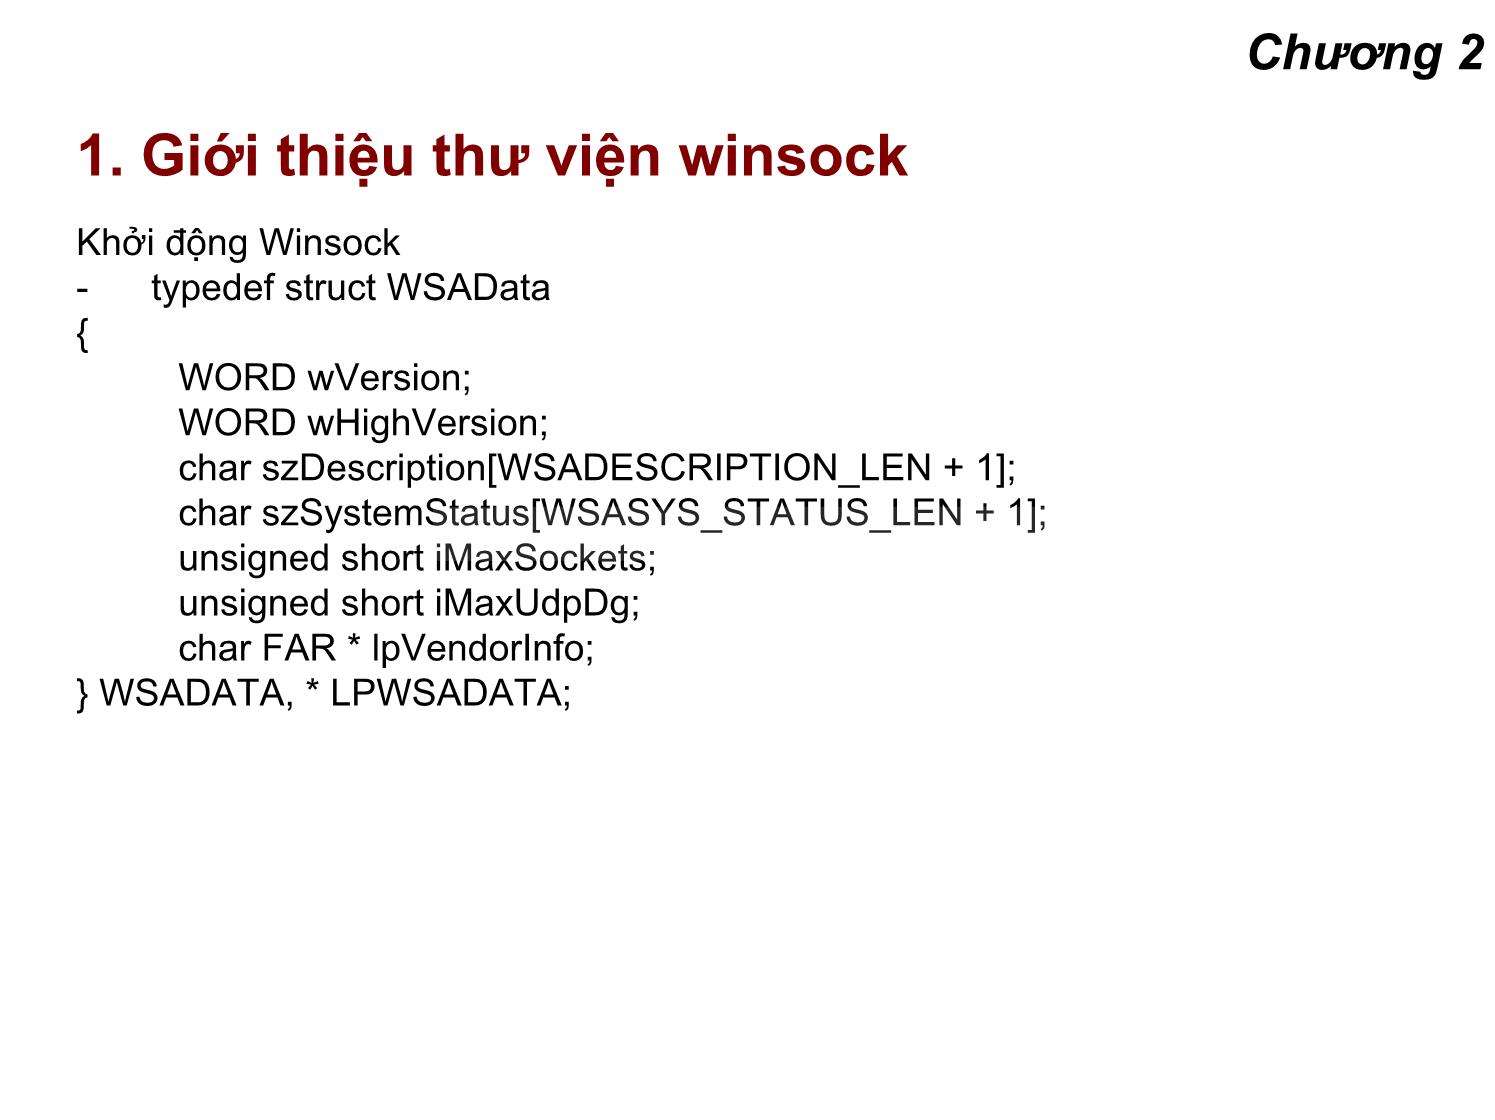
- typedef struct WSAData
{
WORD wVersion;
WORD wHighVersion;
char szDescription[WSADESCRIPTION_LEN + 1];
char szSystemStatus[WSASYS_STATUS_LEN + 1];
unsigned short iMaxSockets;
unsigned short iMaxUdpDg;
char FAR * lpVendorInfo;
} WSADATA, * LPWSADATA;
Chương 2
1. Giớithiệuthư viện winsock
Kết thúc Winsock
Gọi hàm int WSACleanup(void);
Chương 2
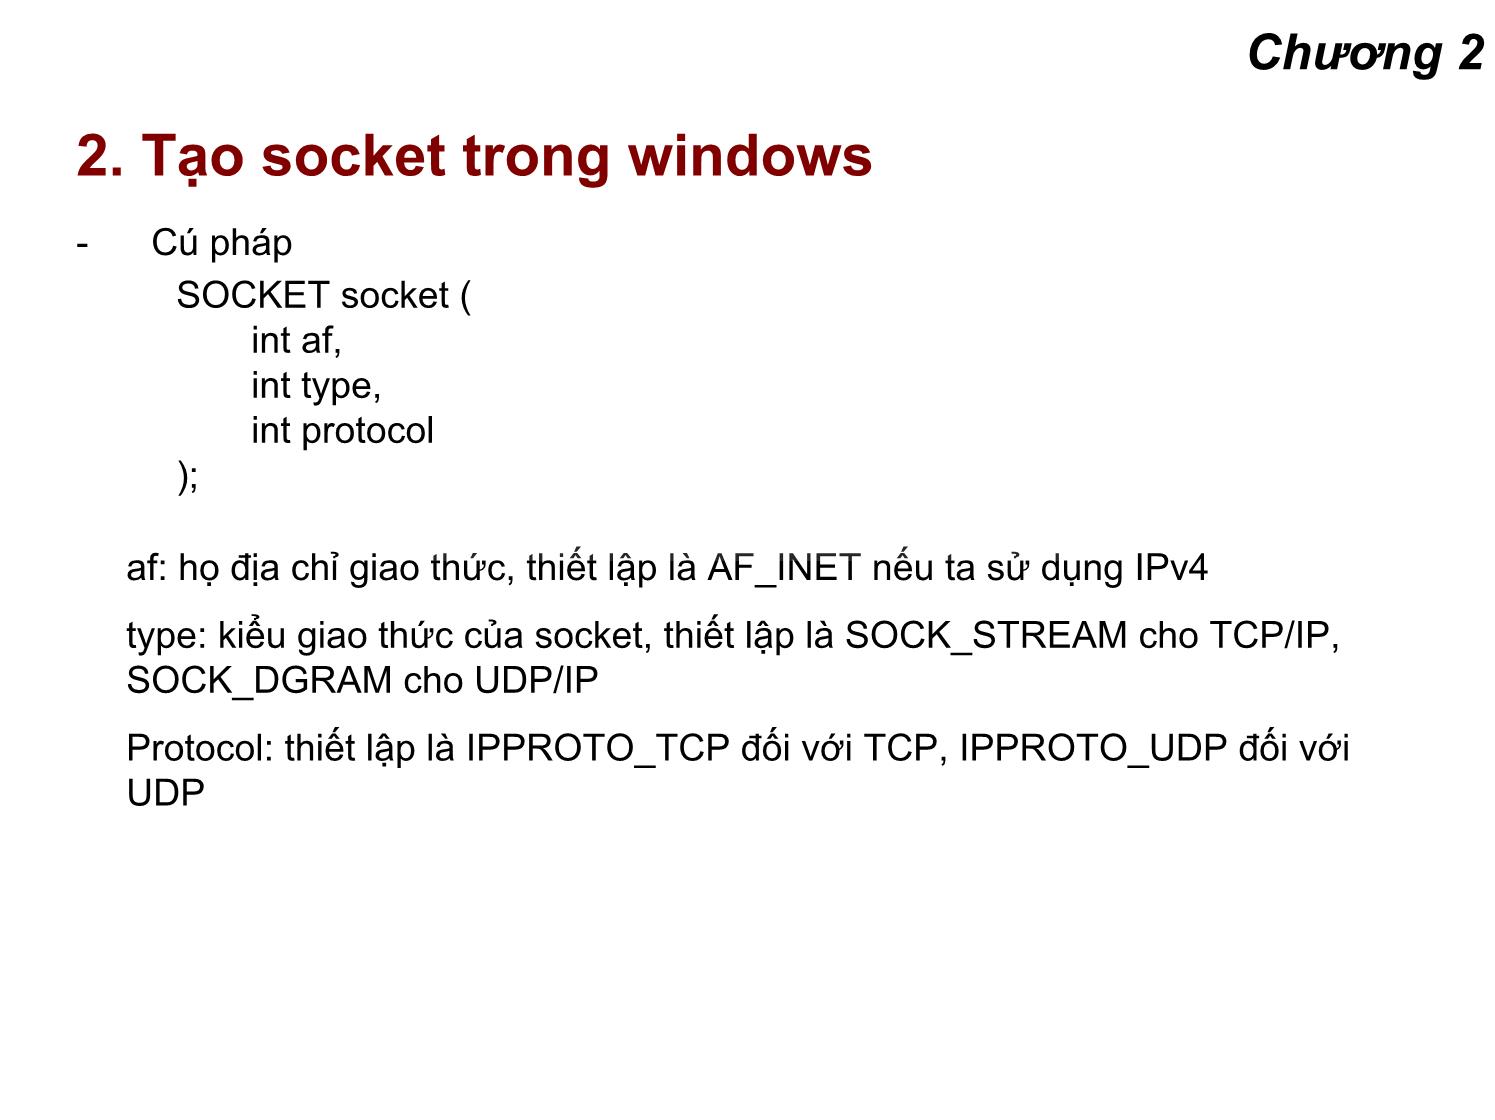
2. Tạo socket trong windows
- Cú pháp
SOCKET socket (
int af,
int type,
int protocol
);
af: họđịachỉ giao thức, thiếtlậplàAF_INET nếuta sử dụng IPv4
type: kiểu giao thức của socket, thiết lập là SOCK_STREAM cho TCP/IP,
SOCK_DGRAM cho UDP/IP
Protocol: thiết lập là IPPROTO_TCP đối với TCP, IPPROTO_UDP đối với
UDP
Chương 2
2. Tạo socket trong windows
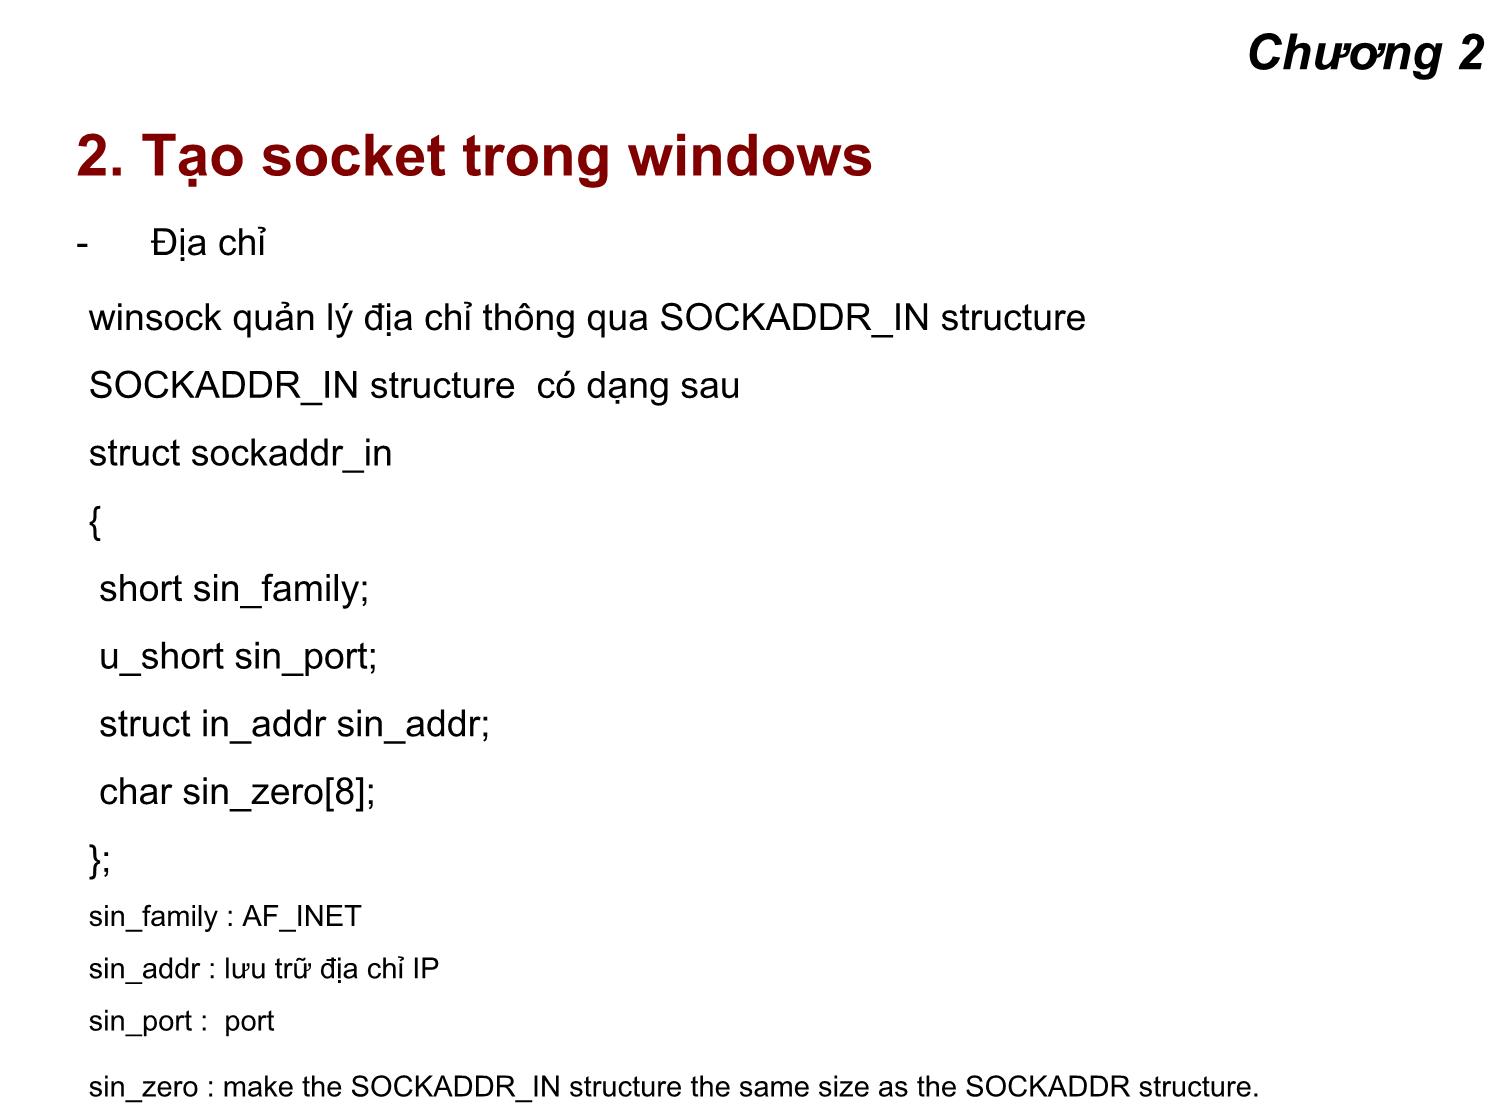
- Địachỉ
winsock quản lý địa chỉ thông qua SOCKADDR_IN structure
SOCKADDR_IN structure có dạng sau
struct sockaddr_in
{
short sin_family;
u_short sin_port;
struct in_addr sin_addr;
char sin_zero[8];
};
sin_family : AF_INET
sin_addr : lưu trữ địa chỉ IP
sin_port : port
sin_zero : make the SOCKADDR_IN structure the same size as the SOCKADDR structure.
Chương 2
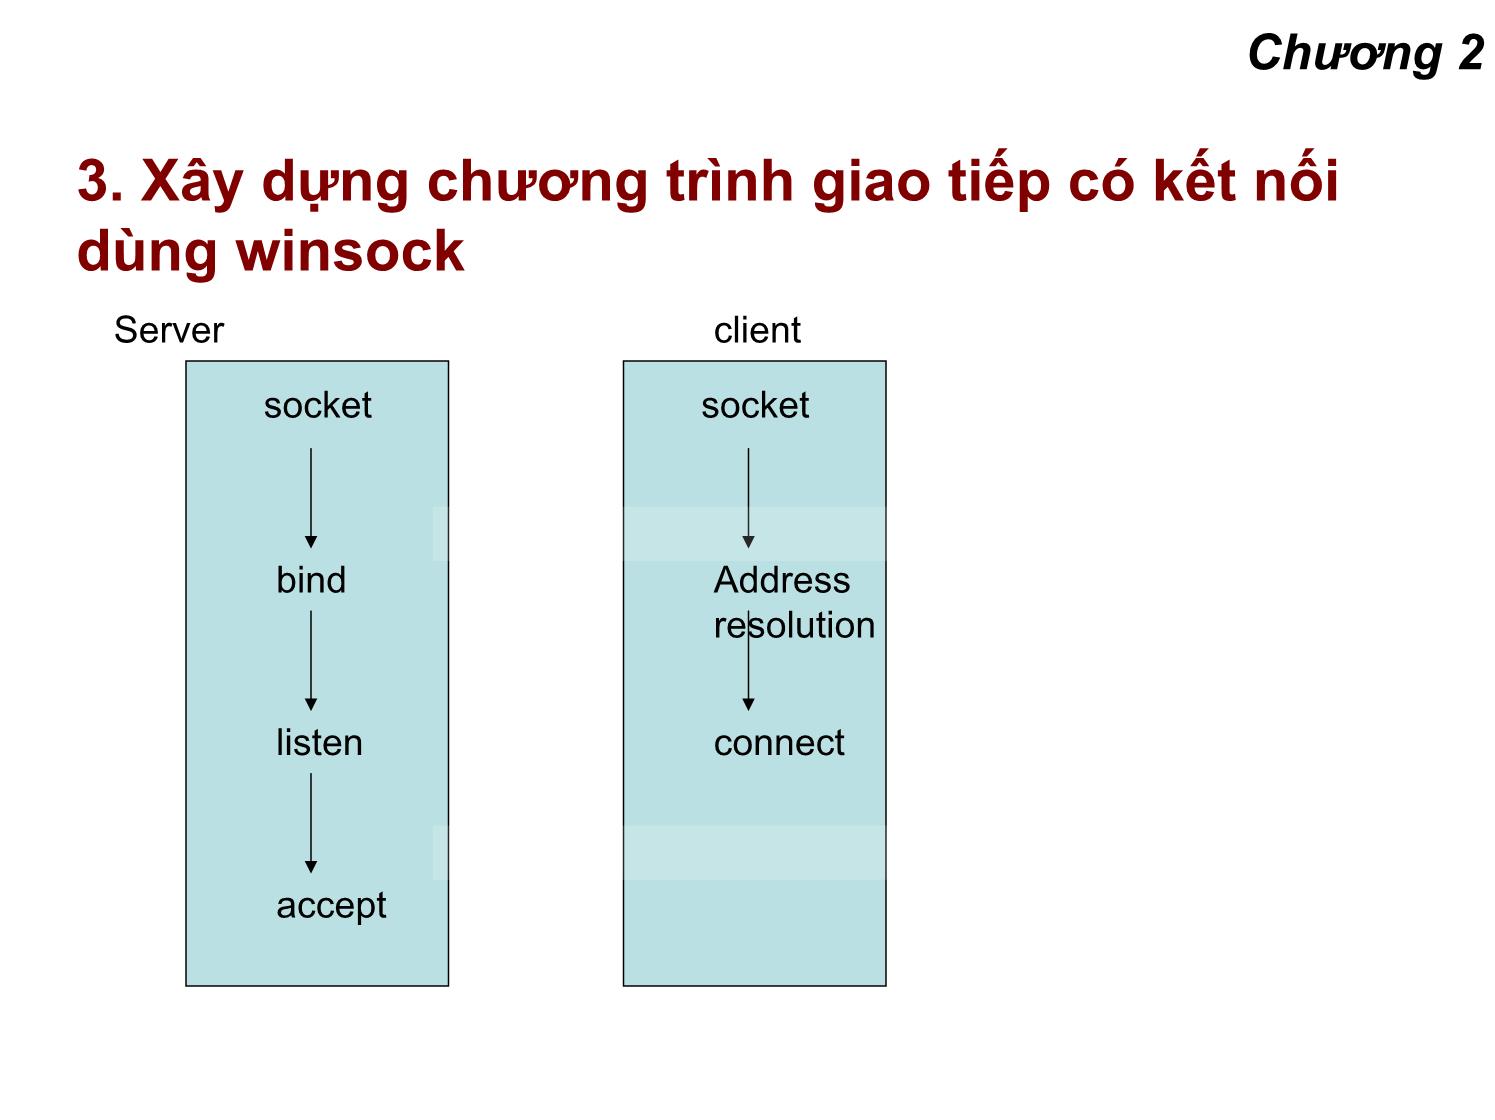
3. Xây dựng chươngtrìnhgiaotiếpcókếtnối
dùng winsock
Server client
socket socket
bind Address
resolution
listen connect
accept
Chương 2
3. Xây dựng chươngtrìnhgiaotiếpcókếtnối
dùng winsock
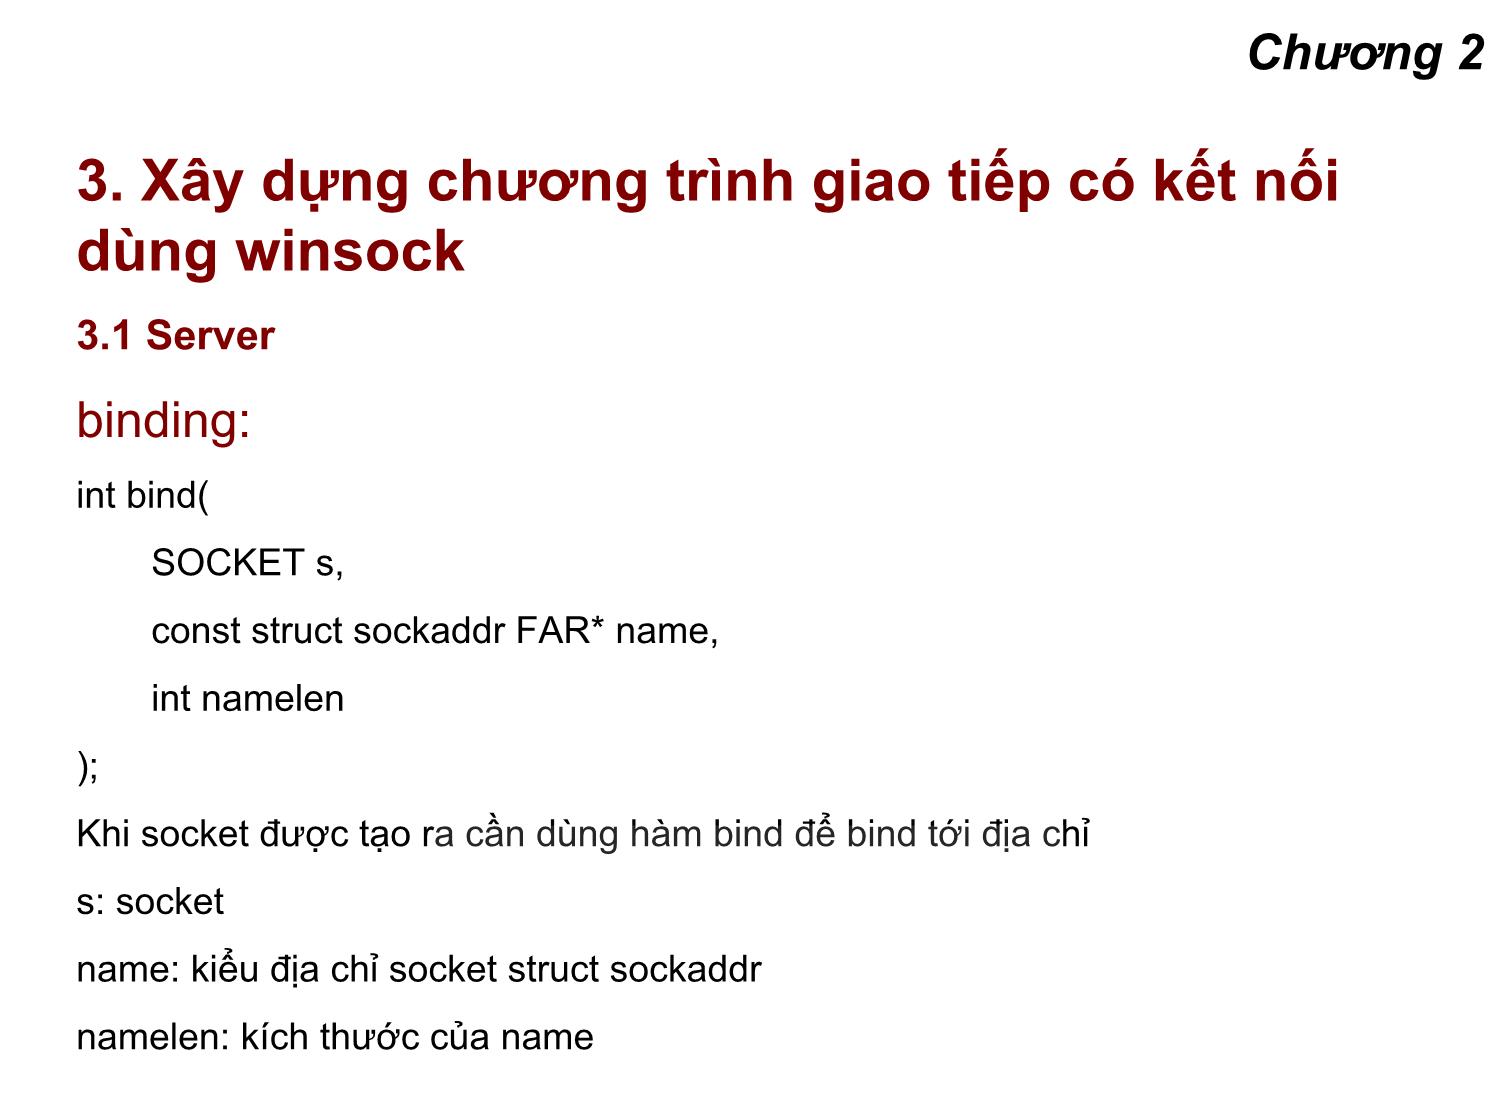
3.1 Server
binding:
int bind(
SOCKET s,
const struct sockaddr FAR* name,
int namelen
);
Khi socket đượctạoracần dùng hàm bind để bind tới địachỉ
s: socket
name: kiểu địachỉ socket struct sockaddr
namelen: kích thướccủaname
Chương 2
3. Xây dựng chươngtrìnhgiaotiếpcókếtnối
dùng winsock
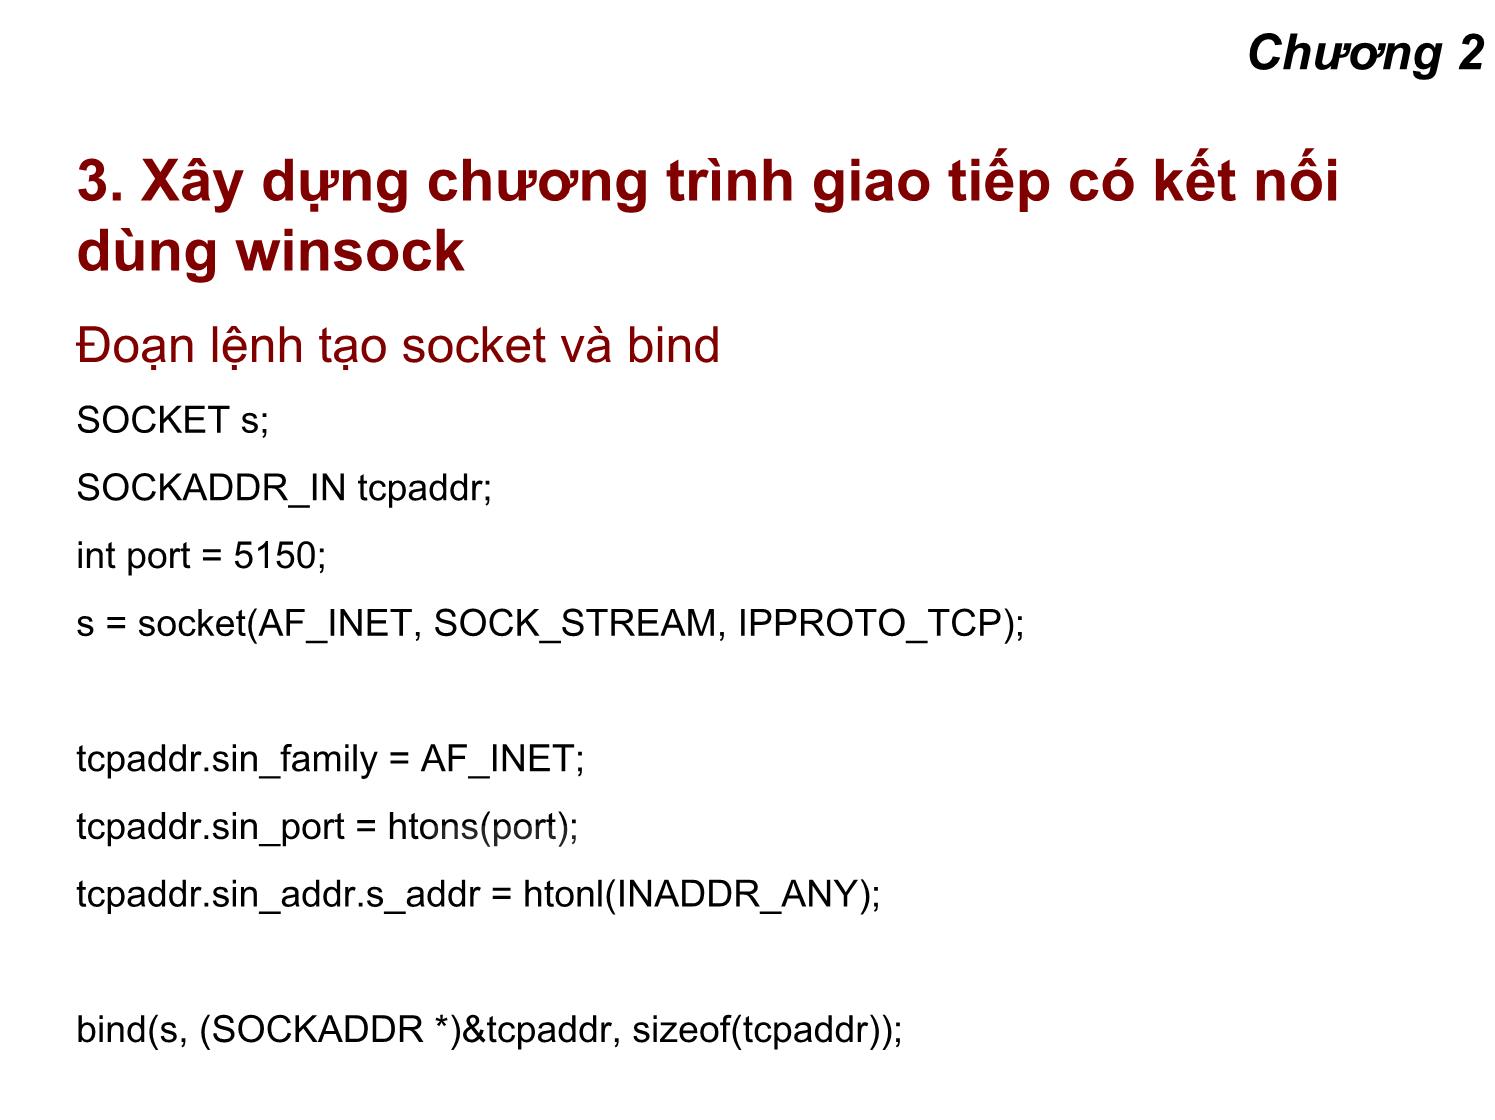
Đoạnlệnh tạo socket và bind
SOCKET s;
SOCKADDR_IN tcpaddr;
int port = 5150;
s = socket(AF_INET, SOCK_STREAM, IPPROTO_TCP);
tcpaddr.sin_family = AF_INET;
tcpaddr.sin_port = htons(port);
tcpaddr.sin_addr.s_addr = htonl(INADDR_ANY);
bind(s, (SOCKADDR *)&tcpaddr, sizeof(tcpaddr));
Chương 2
3. Xây dựng chươngtrìnhgiaotiếpcókếtnối
dùng winsock
Listenning: lắng nghe kếtnốitừ client
int listen(
SOCKET s,
int backlog
);
backlog : chiều dài tối đacủa hàng đợikếtnối
Chương 2
3. Xây dựng chươngtrìnhgiaotiếpcókếtnối
dùng winsock
accepting: chấpnhậnkếtnối
SOCKET accept(
SOCKET s,
struct sockaddr FAR* addr,
int FAR* addrlen
);
addrlen: tham chiếutớikíchthướccủa SOCKADDR_IN structure
Chương 2
3. Xây dựng chươngtrìnhgiaotiếpcókếtnối
dùng winsock
Chương trình phía server:
#include
#pragma comment(lib, "wsock32.lib")
void main(void)
{
WSADATA wsaData;
SOCKET ListeningSocket;
SOCKET NewConnection;
SOCKADDR_IN ServerAddr;
SOCKADDR_IN ClientAddr;
int Port = 5150;
// Initialize Winsock version 2.2
WSAStartup(MAKEWORD(2,2), &wsaData);
Chương 2
3. Xây dựng chươngtrìnhgiaotiếpcókếtnối
dùng winsock
Chương trình phía server:
// Create a new socket to listen for client connections.
ListeningSocket = socket(AF_INET, SOCK_STREAM, IPPROTO_TCP);
// Set up a SOCKADDR_IN structure that will tell bind that we
ServerAddr.sin_family = AF_INET;
ServerAddr.sin_port = htons(Port);
ServerAddr.sin_addr.s_addr = htonl(INADDR_ANY);
// Associate the address information with the socket using bind.
bind(ListeningSocket, (SOCKADDR *)&ServerAddr, sizeof(ServerAddr));
// Accept a new connection when one arrives.
NewConnection = accept(ListeningSocket, (SOCKADDR *)
&ClientAddr,&ClientAddrLen));
// At this point you can do two things with these sockets. Wait
// for more connections by calling accept again on ListeningSocket
// and start sending or receiving data on NewConnection
Chương 2
3. Xây dựng chươngtrìnhgiaotiếpcókếtnối
dùng winsock
Chương trình phía server:
closesocket(NewConnection);
closesocket(ListeningSocket);
// When your application is finished handling the connections,
// call WSACleanup.
WSACleanup();
Chương 2
3. Xây dựng chươngtrìnhgiaotiếpcókếtnối
dùng winsock
3.2 Client
#include
#pragma comment(lib, "wsock32.lib")
void main(void)
{
WSADATA wsaData;
SOCKET s;
SOCKADDR_IN ServerAddr;
int Port = 5150;
// Initialize Winsock version 2.2
WSAStartup(MAKEWORD(2,2), &wsaData);
// Create a new socket to make a client connection.
s = socket(AF_INET, SOCK_STREAM, IPPROTO_TCP);
Chương 2
3. Xây dựng chươngtrìnhgiaotiếpcókếtnối
dùng winsock
3.2 Client
// server IP: 136.149.3.29
ServerAddr.sin_family = AF_INET;
ServerAddr.sin_port = htons(Port);
ServerAddr.sin_addr.s_addr = inet_addr("136.149.3.29");
// Make a connection to the server with socket s.
connect(s, (SOCKADDR *) &ServerAddr, sizeof(ServerAddr));
// At this point you can start sending or receiving data on
// the socket s. We will describe sending and receiving data
closesocket(s);
// When your application is finished handling the connection, call
// WSACleanup.
WSACleanup(); }
Chương 2
4. Truyền/nhậndữ liệu
Hàm send và WSASend (dùng cho socket version 2)
Hàm send:
int send(
SOCKET s,
const char FAR * buf,
int len,
int flags
);
buf : bộ đệm truyền dữ liệu
flags: trạng thái send MSG_DONTROUTE, or MSG_OOB
Chương 2
4. Truyền/nhậndữ liệu
Hàm WSASend :
int WSASend(
SOCKET s,
LPWSABUF lpBuffers,
DWORD dwBufferCount,
LPDWORD lpNumberOfBytesSent,
DWORD dwFlags,
LPWSAOVERLAPPED lpOverlapped,
LPWSAOVERLAPPED_COMPLETION_ROUTINE lpCompletionRoutine
);
lpBuffers : buffer kiếu LPWSABUF
dwBufferCount : số lượng buffer
lpNumberOfBytesSent : số lượng bytes đã truyền
dwFlags: số bản sao
lpOverlapped and lpCompletionRoutine : thông số về đường truyền I/O
Chương 2
4. Truyền/nhậndữ liệu
Ví dụ hàm send:
char sendbuff[2048];
int nBytes = 2048, nLeft, idx;
// Fill sendbuff with 2048 bytes of data
// Assume s is a valid, connected stream socket
nLeft = nBytes;
idx = 0;
while (nLeft > 0)
{
ret = send(s, &sendbuff[idx], nLeft, 0);
if (ret == SOCKET_ERROR)
{ // Error }
nLeft -= ret;
idx += ret;
}
Chương 2
4. Truyền/nhậndữ liệu
Hàm recv and WSARecv
int recv(
SOCKET s,
char FAR* buf,
int len,
int flags
);
flags: có giá trị 0, MSG_PEEK, or MSG_OOB
Chương 2
4. Truyền/nhậndữ liệu
Hàm WSARecv
int WSARecv(
SOCKET s,
LPWSABUF lpBuffers,
DWORD dwBufferCount,
LPDWORD lpNumberOfBytesRecvd,
LPDWORD lpFlags,
LPWSAOVERLAPPED lpOverlapped,
LPWSAOVERLAPPED_COMPLETION_ROUTINE lpCompletionRoutine
);
Chương 2
5. Xây dựng chươngtrìnhgiaotiếpkhôngkết
nối dùng winsock
Server client
socket socket
bind Address
resolution
recvfrom sendto
Chương 2
5. Xây dựng chương trình giao tiếp không kếtnối
dùng winsock
Hàm recvfrom
int recvfrom(
SOCKET s,
char FAR* buf,
int len,
int flags,
struct sockaddr FAR* from,
int FAR* fromlen
);
flags : MSG_OOB or MSG_PEEK
Chương 2
5. Xây dựng chương trình giao tiếp không kếtnối
dùng winsock
Ví dụ hàm recvfrom
#include
#pragma comment(lib, "wsock32.lib")
void main(void)
{
WSADATA wsaData;
SOCKET ReceivingSocket;
SOCKADDR_IN ReceiverAddr;
int Port = 5150;
char ReceiveBuf[1024];
int BufLength = 1024;
SOCKADDR_IN SenderAddr;
int SenderAddrSize = sizeof(SenderAddr);
// Initialize Winsock version 2.2
WSAStartup(MAKEWORD(2 2) &wsaData);
Chương 2
5. Xây dựng chương trình giao tiếp không kếtnối
dùng winsock
Ví dụ hàm recvfrom
// Create a new socket to receive datagrams on.
ReceivingSocket = socket(AF_INET, SOCK_DGRAM, IPPROTO_UDP);
// Set up a SOCKADDR_IN structure that will tell bind that we
// want to receive datagrams from all interfaces using port
// 5150.
ReceiverAddr.sin_family = AF_INET;
ReceiverAddr.sin_port = htons(Port);
ReceiverAddr.sin_addr.s_addr = htonl(INADDR_ANY);
// Associate the address information with the socket using bind.
bind(ReceivingSocket, (SOCKADDR *)&SenderAddr, sizeof(SenderAddr));
Chương 2
5. Xây dựng chương trình giao tiếp không kếtnối
dùng winsock
Ví dụ hàm recvfrom
// At this point you can receive datagrams on your bound socket.
recvfrom(ReceivingSocket, ReceiveBuf, BufLength, 0, (SOCKADDR *)&SenderAddr,
&SenderAddrSize);
// When your application is finished receiving datagrams close
// the socket.
closesocket(ReceivingSocket);
// When your application is finished call WSACleanup.
WSACleanup();
}
Chương 2
5. Xây dựng chương trình giao tiếp không kếtnối
dùng winsock
hàm sendto
int sendto(
SOCKET s,
const char FAR * buf,
int len,
int flags,
const struct sockaddr FAR * to,
int tolen
);
to : trỏ tới địa chỉ cần send tới
Chương 2
5. Xây dựng chương trình giao tiếp không kếtnối
dùng winsock
Ví dụ hàm sentto
#include
#pragma comment(lib, "wsock32.lib")
void main(void)
{
WSADATA wsaData;
SOCKET SendingSocket;
SOCKADDR_IN ReceiverAddr;
int Port = 5150;
char SendBuf[1024];
int BufLength = 1024;
// Initialize Winsock version 2.2
WSAStartup(MAKEWORD(2,2), &wsaData);
// Create a new socket to receive datagrams on.
SendingSocket = socket(AF INET, SOCK DGRAM, IPPROTO UDP);
Chương 2
5. Xây dựng chương trình giao tiếp không kếtnối
dùng winsock
ReceiverAddr.sin_family = AF_INET;
ReceiverAddr.sin_port = htons(Port);
ReceiverAddr.sin_addr.s_addr = inet_addr("136.149.3.29");
// Send a datagram to the receiver.
sendto(SendingSocket, SendBuf, BufLength, 0, (SOCKADDR *)&ReceiverAddr,
sizeof(RecieverAddr));
// When your application is finished sending datagrams close
// the socket.
closesocket(SendingSocket);
// When your application is finished call WSACleanup.
WSACleanup();
}
Chương 2
6. Chếđộblocking của socket
Nhận xét đoạn chương trình:
SOCKET sock;
char buff[256];
int done = 0,
nBytes;
...
while(!done)
{
nBytes = recv(sock, buff, 65);
if (nBytes == SOCKET_ERROR)
{ printf("recv failed with error %d\n", WSAGetLastError());
Return; }
DoComputationOnData(buff);
}
Chương 2
6. Chếđộblocking của socket
Đoạn chương trình trên có trường hợp hàm rev sẽ không bao giờ nhận đủ dữ liệu phục
vụ cho tác vụ nào đó nếu không có dữ liệu gửi tới vì lý do nào đó, lúc này chương trình
sẽ bị chờ mãi mãi
Giải pháp khác phục: tạo luồng nhận và xử lý riêng rẽ
Chương 2
6. Chếđộblocking của socket
#define MAX_BUFFER_SIZE 4096
// Initialize critical section (data) and create
// an auto-reset event (hEvent) before creating the
// two threads
CRITICAL_SECTION data;
HANDLE hEvent;
SOCKET sock;
TCHAR buff[MAX_BUFFER_SIZE];
int done=0;
// Create and connect sock ...
// Reader thread
Chương 2
6. Chếđộblocking của socket
void ReadThread(void)
{
int nTotal = 0,
nRead = 0,
nLeft = 0,
nBytes = 0;
while (!done)
{
nTotal = 0;
nLeft = NUM_BYTES_REQUIRED;
// However many bytes constitutes
// enough data for processing
// (i.e. non-zero)
Chương 2
6. Chếđộblocking của socket
while (nTotal != NUM_BYTES_REQUIRED)
{
EnterCriticalSection(&data);
nRead = recv(sock, &(buff[MAX_BUFFER_SIZE - nBytes]), nLeft, 0);
if (nRead == -1)
{ printf("error\n");
ExitThread(); }
nTotal += nRead;
nLeft -= nRead;
nBytes += nRead;
LeaveCriticalSection(&data); }
SetEvent(hEvent);
}
}
Chương 2
6. Chếđộblocking của socket
// Computation thread
void ProcessThread(void)
{
WaitForSingleObject(hEvent);
EnterCriticalSection(&data);
DoSomeComputationOnData(buff);
// Remove the processed data from the input
// buffer, and shift the remaining data to
// the start of the array
nBytes -= NUM_BYTES_REQUIRED;
LeaveCriticalSection(&data);
} File đính kèm:
 bai_giang_lap_trinh_mang_chuong_2_lap_trinh_mang_trong_windo.pdf

